20+ Easy Henna Ideas That Look Impossibly Professional
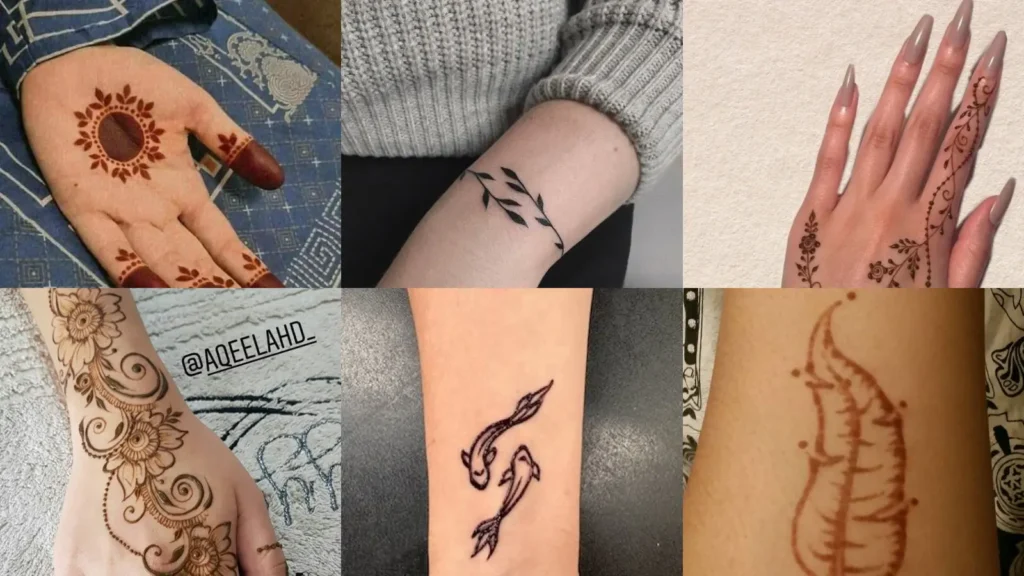

By the end of this list, you’ll have twenty henna designs simple enough to try tonight with zero art degree required!
Henna looks intimidating in photos, but most of these patterns break down into dots, lines and little swirls anyone can copy.
I scrolled through hundreds of henna pins to build this list. A lot of them got cut because they needed steady hands.
Most people don’t own a fine-tip bottle anyway.
What made the final twenty? Designs that use basic shapes, forgive wobbly lines and still look put together once they dry.
You’ll find wrist bands, finger vines, anklets and even a few facepaint ideas mixed in for whenever henna isn’t quite the vibe.
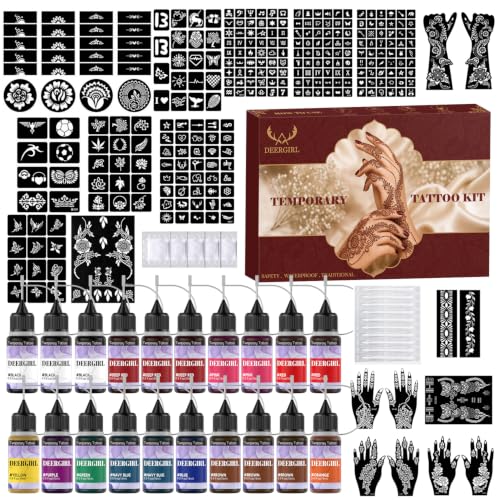
Grab a cone or a paste kit and pick whichever one speaks to you. Under each idea I’ve added the details you’ll actually want, plus a link to the full tutorial.
EASY HENNA IDEAS
Simple Mandala Palm Design

We’re starting off strong with a simple mandala palm design. Dots and petal shapes build outward from the center of the palm, so there’s no long continuous line to mess up.
My hand shook so badly the first time I tried this, but the dots hid every wobble, haha!
- Beginner favorite
- Builds outward from one center dot
- Forgiving on shaky hands
Minimalist Wrist Henna Band
This wrist band keeps things minimal on purpose. A few thin lines wrap the wrist like a bracelet and that’s basically the whole design.
I timed myself once and it took ten minutes flat. Not bad for something this low effort!
Even the messiest attempt still looked intentional.
- Ten minute wrist win
- Reads as a bracelet, not a tattoo
- Great for first-timers
Floral Vine Finger Henna

How pretty is this floral vine winding up the finger? Small leaves branch off a single curved line, so you only need to master one shape.
It survived the whole afternoon without smudging, which felt like a small miracle!
- One shape, repeated
- Just leaves and one curved line
- Holds up through a full day
Dotted Moon Henna Pattern

This dotted moon pattern is quiet and pretty without trying too hard. A crescent shape gets outlined in dots, then a few stars scatter around it.
Read also: 30+ Jaw-Dropping Funky Mismatched Nail Art Ideas
I always mess up swirls but dots forgive shaky hands. That alone makes this one worth trying! A cotton swab helps clean up stray dots too.
- Dots over swirls
- Crescent shape plus scattered stars
- Forgiving for wobbly hands
Simple Arabic Henna Sleeve

Who doesn’t love a classic Arabic sleeve, am I right? The bold floral vine runs up the forearm and leaves plenty of open skin between shapes, so it looks fuller than it actually is.
- Looks fuller than it is
- Bold vine with lots of negative space
- Reads as advanced from a distance
Cute Ankle Henna Design

This ankle design is cute, simple and stays hidden under socks if you need it to for work. A thin vine circles the ankle bone with a few dots trailing down toward the foot.
I still barely trust myself with a henna cone, honestly. This is the one that finally made me feel comfortable!
Beginner Feather Henna Tattoo

This feather is basically a stem with short lines branching off it, which makes it one of the easiest shapes on this whole list.
I add tiny dots along the edges for texture every time. The feather turns out looking way more detailed than the actual effort involved, lol!
- Deceptively detailed
- Just a stem with branching lines
- Dots add texture fast
Small Sun Henna Design

This small sun design sits neatly on the back of the hand or the inside of the wrist. A circle in the center gets rays drawn outward, some straight and some curled.
I always mix straight and curled rays so mine never look stiff. It works every single time! A little smudge at the tips even adds warmth.
- Mix straight and curled rays
- Fits on the wrist or hand
- Center circle keeps it centered
Henna Bracelet Wrist Wrap

This one mimics a woven bracelet using nothing but thin crisscross lines around the wrist. It photographs beautifully next to real jewelry, which is a fun little trick, lol!
I layered my actual bracelet over it once it dried. Nobody at brunch could tell where the henna ended!
- Fools the camera
- Crisscross lines mimic woven thread
- Pairs well with real jewelry
Leaf Pattern Hand Henna

Leaf patterns are everywhere in henna and this hand version proves why. A single vine travels across the back of the hand with small leaves peeling off in both directions.
It’s the pattern I go back to most because it never looks messy, even on a rushed morning.
Keep the leaves uneven in size for a more natural look.
- Never looks messy
- Uneven leaf sizes look natural
- Travels across the back of the hand
Simple Peacock Henna Design

Talk about talent! This peacock design breaks down into a fan of curved lines with dots filling the gaps, so it’s simpler than the finished look suggests.
I always do the body outline first, then fill the tail one curve at a time. People assume it took forever!
- Simpler than it looks
- Body first, feathers second
- Dots fill every gap
Geometric Henna Finger Lines

These geometric lines running along the fingers are about as low effort as henna gets. Straight lines, small triangles and a couple of dots, that’s the whole recipe.
I reach for this one whenever I’m short on patience. No shame in loving a shortcut design!
- The shortcut design
- Straight lines and small triangles
- Takes minutes per finger
Heart Henna Wrist Design

This heart design on the wrist is sweet without being juvenile. A small heart outline gets filled with a simple lattice or a few dots inside.
Who doesn’t love a matching set at brunch?
- Sweet, not juvenile
- Lattice fill inside the outline
- Fits neatly on the wrist
Simple Henna Anklet Design

Instead of another plain anklet, try this henna version wrapping the ankle in a thin repeating pattern. It sits right where a real anklet would, so the two blend together nicely.
I did this before a beach trip and it lasted through sandal season just fine. Fifteen minutes well spent!
- Sandal season ready
- Sits where a real anklet would
- About fifteen minutes start to finish
Simple Butterfly Face Paint
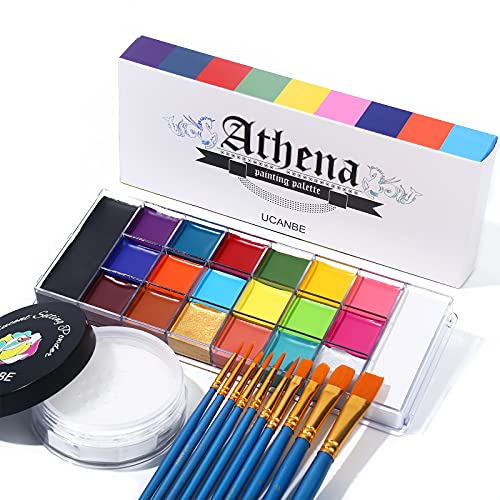
Facepainting ideas easy enough for a Saturday afternoon start right here with this butterfly. Two curved wings on the cheek and a thin body line down the nose bridge is the entire design.
Read also: 19+ Genius Sketching Ideas That Transform Your Art
I sponge on the base color first, then add details with a thin brush. It reads as fancy even though it takes barely any time!
- Barely any time, big payoff
- Sponge base, then brush details
- Two wings and one line
Easy Rainbow Cheek Design
This rainbow cheek design is just curved stripes in a fan shape, no blending skills needed. Who could say no to that face?
I always say yes since it takes five minutes flat. Same, honestly!
- Goes with any costume
- Curved stripes, no blending
- Popular at parties
Cute Cat Whiskers Facepaint

Cat whiskers might be the fastest facepaint on this entire list. Honestly that’s the whole appeal.
A pink triangle nose, a few dots and three lines on each cheek and you’re done.
This is the one I do last minute when someone forgot their costume plan entirely.
- The last minute save
- Done in under five minutes
Sparkly Star Face Paint
Sparkly stars scattered across the temple or cheekbone always look festive with almost no effort. Dab on a star stencil, then add glitter gel while the paint is still wet.
Read also: 15+ Stunning Mask Design Ideas That Turn Heads
I always end up with glitter on my hands for days after. The glitter is really what sells the whole thing! Worth every stray sparkle, haha!
- Glitter does the work
- Stencil plus wet glitter gel
- Great for temple or cheekbone
Simple Flower Cheek Paint
This flower cheek design is one bright center dot surrounded by five or six petal shapes. It’s the design I reach for when the line at the facepaint table is long and patience is short.
Petals don’t need to be perfect. Uneven ones look handmade instead of sloppy. Honestly that’s more charming anyway!
- Fast when the line is long
- One center dot, five petals
- Forgiving with uneven shapes
Easy Tiger Face Paint
Last but definitely not least, we have this tiger design! Orange base, black stripes and a white muzzle patch make it instantly recognizable from across the yard.
Keep the stripes uneven and pointed for a more realistic look. This one gets the loudest roars at every costume party, lol!
- Loudest roars guaranteed
- Orange base with black stripes
- White muzzle patch finishes it